
 I’ve always wanted to have and build a Geiger Counter. This doesn’t mean I want to start experimenting with radioactive materials, I just have a general interest. At most I might collect items from thrift stores that measure higher than normal amounts of radiation. At most I wouldn’t mind sputtering the radioactive metal onto glass slides.
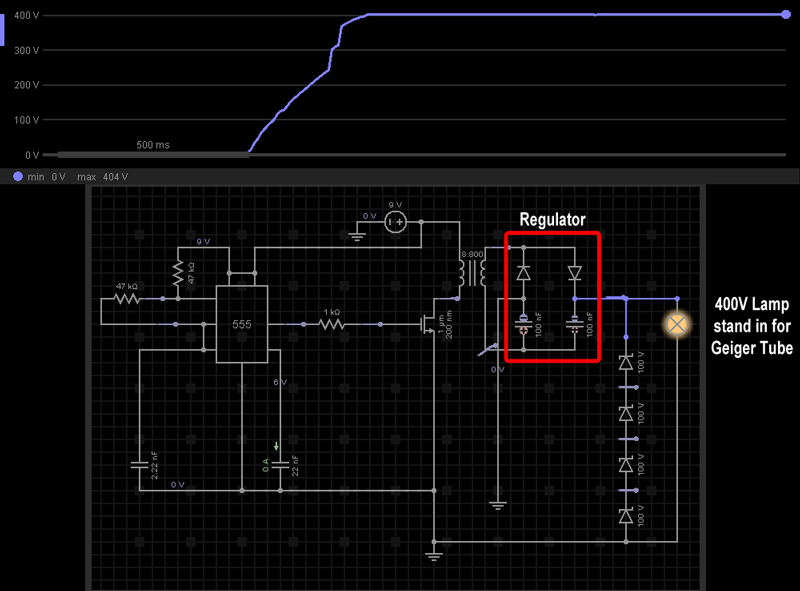
Found some tutorials but the most appealing to me was one built by tanner_tech featured on HackADay.com recently that utilized a 555 timer and a step up transformer to get the 400V. 400V across the tube allows gamma rays or beta particles to start the ionization completing the circuit.
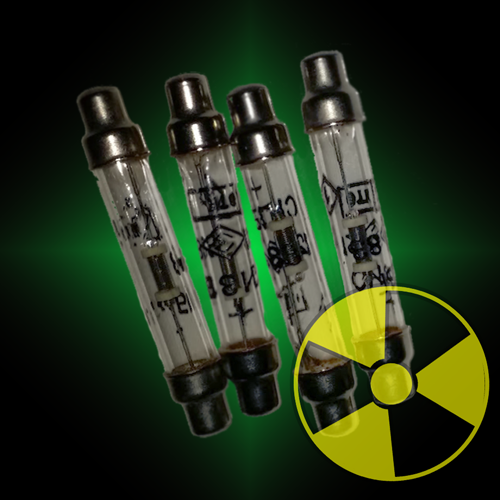
After settling on a design I purchased 3 Russian Geiger tubes CI-3BG / SI-3BG from ebay link here. They sent me 4…. Win!
I want to take this one step further and have the data output to a screen and log that data rather than just make noise. So the end result will be an Arduino or Raspberry Pi to control the Geiger Counter. I just need to learn the best way to take the 400v pulses and turn that into something a microcontroller can safely read. If you know the best way to do this please contact me.
After a few corrections to the circuit to level the voltage to a consistent 400V I believe I’m ready to begin building the initial geiger counter. That is after I get a few other projects out of the way. Being able to simulate the circuit, as shown below, was a huge help.
Parts List
- 1x 555 timer
- 2x 47k resistors
- 1x 22nF capacitor
- 1x 2.2nF capacitor
- 1x 1k resistor
- 1x 8:800 ohm transformer
- 1x Any N-channel MOSFET
- 2x 1n4007 diode (on regulator)
- 2x 100nF 500 volt capacitor (on regulator)
- 4x 100 volt zener diode
- 1x Geiger tube (in simulation I’m using a lamp)
If built from scratch, buying parts in small quantities each unit is estimated to cost around $12-$15 so not bad at all.
Recreation of the circuit with simulation on EveryCircuit
Friggin loving Every Circuit! Visually seeing the results and being able to tweak values during live simulation is beautiful.
Links to original design
- Link to HackADay Article for this design
- Link to Instructable for this design
- Link to Youtube video covering the schematic and build of the Geiger Counter
You must be logged in to post a comment.