Arduino and UV Lights for Glow in the Dark Decorations

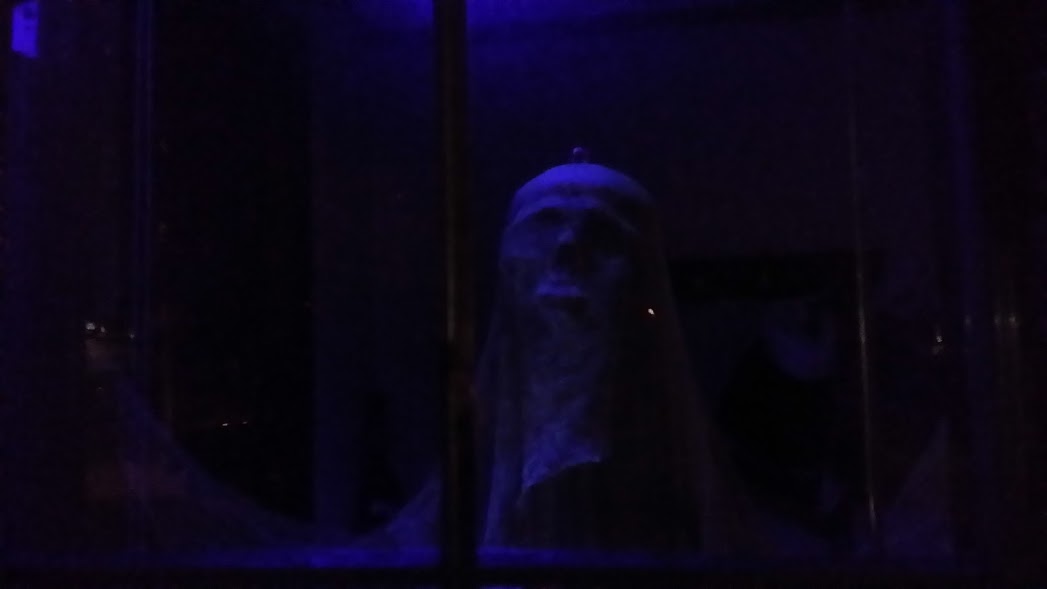
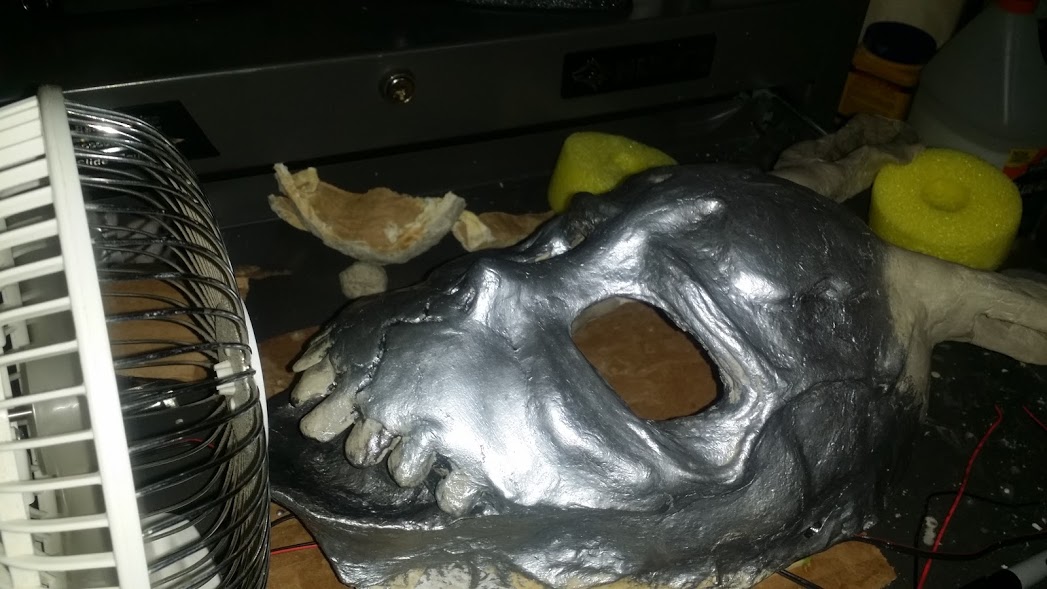
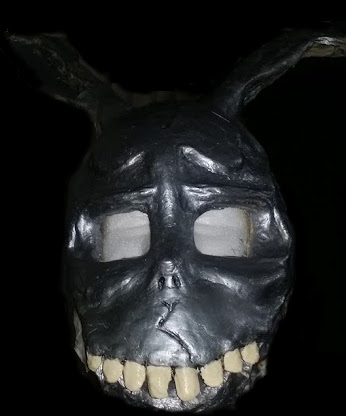
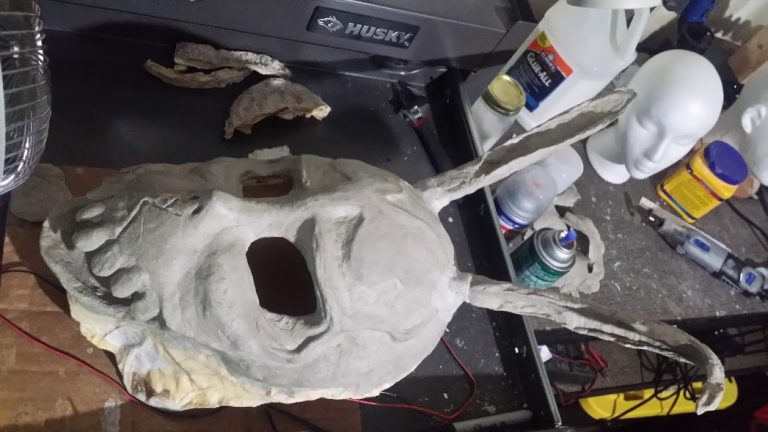
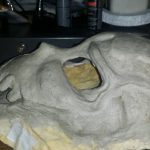
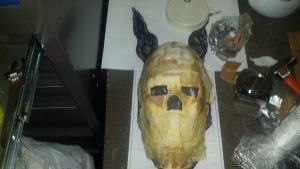
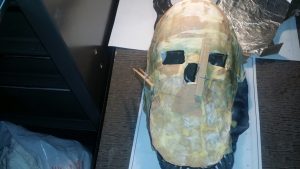
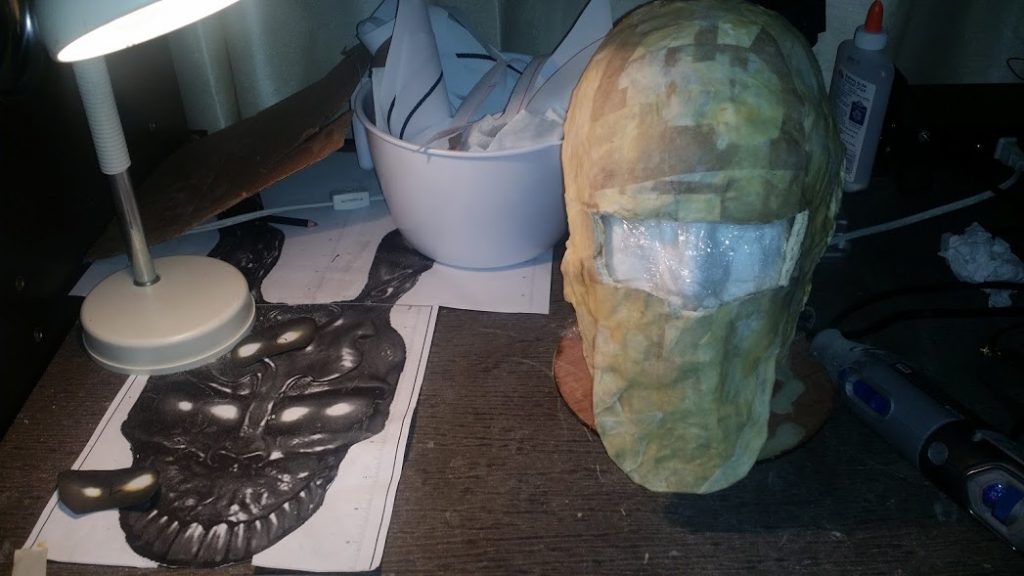
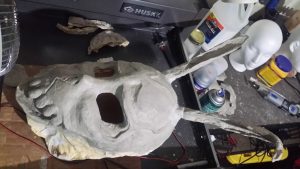
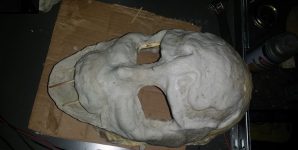
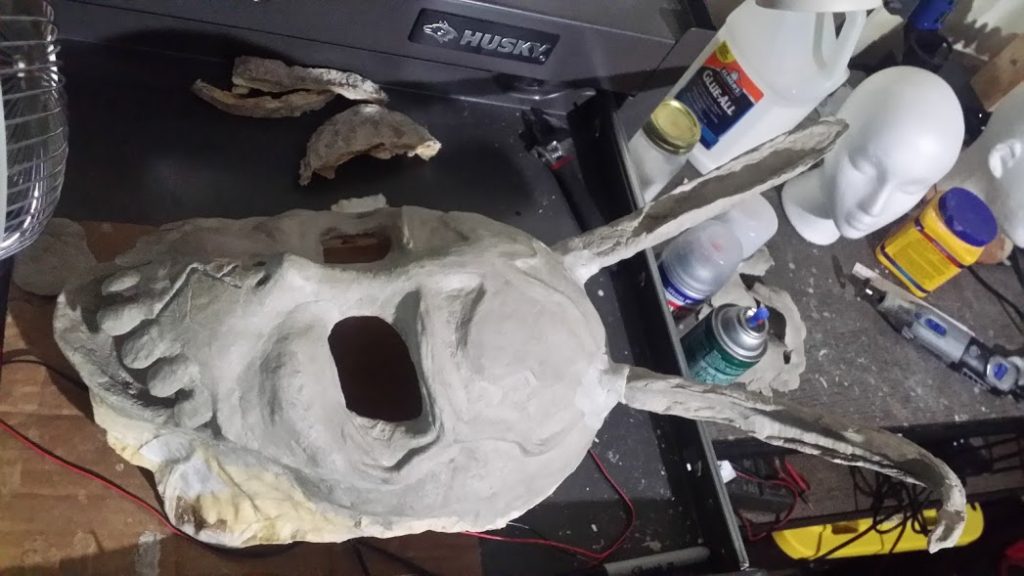
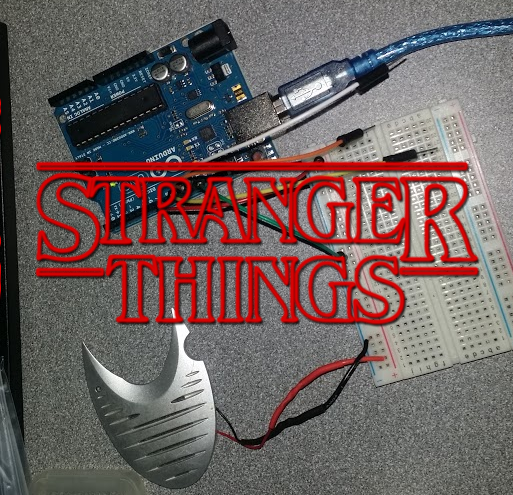
My wife, MrsRedBeard, made some glow in the dark heads for Halloween decorations. They glowed but very dim and not for very long so why not kick it it up with UV lights. But why stop there when there’s an Arduino laying around?

Using the Arduino I made it so that the lights fade in to brightness, blink, hold for a few seconds then turn off for a while and loop.  The code for this can be found on GitHub.

I’m not getting real in-depth on how to do this because most of it is really basic. If you want additional information just Contact us.

Parts / Materials

  • Arduino
  • UV LEDs from Adafruit
  • An old CAT 5 cable
  • 2 screw terminals
  • 2x 2N3904 Transistors
  • Wire
  • A salvaged project box
  • Styrofoam ring cut in half
  • A empty circuit board

Pictures of the project

Bronzeville Primer

Bronzeville announced to release on February 7th!

Actual Bronzeville Art for Show - https://twitter.com/BronzevilleShow

Update: Be sure to check out our Bronzeville FAQ.

What to possibly expect?

Bronzeville, written by Josh Olson, is directed by Larenz TateLaurence Fishburne and Kc Wayland. We sat down with Kc Wayland and got the chance to talk about Bronzeville to find out more details during episode 72 of the We’re Alive FanCast.

Bronzeville’s cast include Larenz Tate as Jimmy Tillman, Laurence Fishburne as Curtis “Eyeball” Randolph, Tika Sumpter as Lisa Copeland, Tracee Ellis Ross as Anna Copeland, Wood Harris as Everett Copeland, Omari Hardwick as Jesse Copeland and Cory Hardrict as Casper Dixon. Source GlobalGrind.com

So I shouldn’t have to say it but this star studded cast is huge for an audio drama and is a first in a very long time.

Located in the Douglas community of South Side Chicago lays Bronzeville, also known as Known as Black Metropolis, the site of Chicago’s version of the Harlem Renaissance. Home to many famous African-Americans to include Louis ArmstrongNat “King” Cole, Ida B WellsGwendolyn BrooksRichard Wright, Bessie ColemanAndrew Foster and many more.

During the early 20th century roughly 6 million African Americans fled from oppression faced in the south. This event is referred to as the Great Migration.  During this time thousands of families and individuals sought out a better life in Chicago.

The focus of the Bronzeville Audio drama, as much as we know, is the Numbers Games during the 1940’s. Numbers/Policy Game or Numbers/Policy Racket is an illegal lottery where the person playing attempts to pick numbers that will match a random number drawn at a later time.

A few behind the games in Bronzeville were Eddie Jones, Theodore Roe, John V. “Mushmouth” Johnson, but considering the long History of Organized Crime in Chicago there are many more. In many instances the Mafia either attempted to or completely took over the Numbers Games but not without a fight. Eventually these forms of gambling evolved into legal state lotteries.

How big were the Numbers Games? Eddie Jones and his brothers at one point were making more than 180k per week which is way more than enough to draw attention from law enforcement and other criminal elements.

Gangster Audio Drama!!

Listen to our interview with Kc Wayland about Bronzeville

Check back here for episodes, articles and hopefully interviews

DIY DeadMau5 Head on a Budget

Here’s a brief run down on a DIY DeadMau5 head or helmet that I built with my son for Halloween.

Materials

Estimated Cost $33.48

Tools

Cut the half circles to give room for the neck. Magnets hold the spheres together. Put the half spheres together and mark evenly spaced marks around on both spheres to recess 2 sets of magnets total into each side. Don’t do like me and try and use E6000 cause it melts styrofoam, use hot glue just don’t let it get real hot.

Next for the mouth and ears. Use the paper DeadMau5 Mouth template, cut slits into the paper to get the templates to lay evenly and flat onto the surface of the sphere and tape it. Mark lines lightly with a pencil then cut using the hot knife in a well ventilated area. Be careful because the foam melts easy. Use the paper DeadMau5 Ear template to mark and cut the foam for the ears. Note that you will have to cut a curve into the base of the ears to get it to lay flush.

Now for the eyes. Take the 2 Dollar Store Touch Lights apart. You are wanting the dome that acts as a light diffuser. If you get lucky you might be able to use the leds. There will be lip around the outside edge of the dome that will need to be cut off and we used a hot knife for this.

Trace where the ears will be mounted on the sphere then cut/push a recess. Use black hot glue to fix the ears to the sphere. Paint the sphere and ears using acrylic paint. We applied 2 coats to get a good black color applied. Now take the domes you cut out and trace where you want the eyes. Cut/push in the outlines to better recess the domes. In the center of these eye traces you will want to make holes just smaller than the LED you acquired. Hot glue with black glue sticks the eyes. Make Xs on the eyes using electrical tape. Trace the mouth onto the fabric using the DeadMau5 Mouth template tracing slightly larger than the original. Using the black hot glue attach the fabric inside the mouth.

Now it’s time to wire up the LEDs for the eyes. This is pretty simple so I’m not going to post additional info unless asked. Amazon failed to deliver the Red El Wire on time for Halloween but we plan to add that soon. The Red El Wire will outline the ears and mouth.

DIY 100 Watt Bluetooth Speaker

There’s a trend of bluetooth speakers built into suitcases, ammo cans and other unconventional containers. These things sell for $300 or more which is quite a bit more than what it costs to build them. I will break down the parts, sources and their prices. This project was very easy and very affordable.

If you want a custom speaker built just contact us!

Parts

Total cost for one $38.87 (only used one of the speakers)

I found this train case on the side of the road. I stripped out the interior of the case and cleaned it up.


I used a template I found online for the Planet Audio TQ573 5×7 speaker to cut out the hole.

The amp is rated at 50 watts per channel and the speaker is rated at 100 watts. This build only uses one speaker so I bridged the amp to output 100 watts. This amp will run off 12vdc so a portable version would be an easy build.

Speaker mounted and working. It can get pretty loud and sounds great.


RedBeard’s Donnie Darko Mask

Favorite moment of the Donnie Darko mask

I’ve been wanting to make a Donnie Darko Frank the Bunny mask for some time now and finally got around to doing before this last Halloween. Disclaimer I’m no sculptor and have no experience with this. Definitely not perfect and I’m going to retry for something better later but I’ll share anyways.


This was a ton of fun to do but I think I might take some art classes at the AR Innovation Hub, a local maker space, soon.

Materials

I used a combination of paper mache and paper mache clay to make this mask. Paper mache clay is awesome!! I started with a styrofoam form and a blank plastic mask (that was too small).

Cara Brookins has a write up on paper mache clay. Cara is an author and super mom who I hope to interview after reading a few more of her books. I had the pleasure of meeting Cara a few years ago at River City Comic Con.

Errors

As you browse through the progress you’ll notice I started off with an uneven form and it never got better. I thought I’d fill in the lower jaw area to make the mask fill the outline of the printed mask but then removed it with haste. I also found out late that the paper mache clay needs to be kneaded and worked for a while before it becomes pliable. The mask ended up being a bit small but weighed a ton like hurt your neck ton.

I learned a lot from this project. I’m open to any tips you might have for the paper mache clay and sculpting in general.


Mask from the movie no comparison


Pictures from the build


Parsing Digital Sheet Music MXL Files – Stranger Things Theme Song on Arduino

Arduino Stranger ThingsI’ve been toying around with playing music using simple tones on the Arduino. I’m no composer or musician so looking around for sheet music I eventually stumbled across MXL files on a few sites like MuseScore.com. Below I have posted a sample of the Arduino playing the Stranger Things theme song.

MXL is a compressed XML file that contains the Sheet Music data, Credits, Parts, Voice Definitions, Notes, Tempo and Durations along with other information. Basically a universal format designed for composing music, project sharing and several additional applications.

Ok so MXL files, what I keyed in on was that the MXL file contained the Notes and their Durations. This is perfect because you can create a simple Arduino code to play notes if you have this information. Sorting through these files is very daunting and time consuming so I decided to create a simple app to parse this information to use it more easily.

This app was banged out pretty quickly so please forgive possible errors. Because some MXL files are compressed and others are not I built in the code necessary to unpackage the XML before parsing. The app allows me to separate the notes by voice with their durations. In addition I placed a numeric control that limits the amount of notes that get parsed. A screenshot example is on the left.

Huge thanks to Shvelo who’s Ruby code got me pointed in the right direction.

I have this project posted on GitHub where you can obtain the code for the app as well as the Arduino sample code.

You can download the compiled app from GitHub.

Arduino SetupPlaying the Stranger Things theme song on the Arduino was a bit tricky tweaking the tempo to make it sound right but way easier without having to manually extract the notes and durations. To the left is the simple Arduino setup using piezo from a walkie talkie wired to pin 8 and ground on the controller. Ignore the other wires because they’re not used here.

A thanks to Riley Apperson on MuseScore for his/her Composition of the Stranger Things Theme.

Top