Wismec Reuleaux RX200S Blank Screen Fix

If you want help fixing your device or want me to do it please contact me.

Wismec Reuleaux RX200S Blank Screen Fix

A reader sent his RX200S, after reading the rx2/3 fix, hoping I could fix a blank screen issue.

Hooked up to PC where the firmware tool successfully detected the device. Went ahead and updated the firmware to V4.13. This let me know there wasn’t a processor issue.

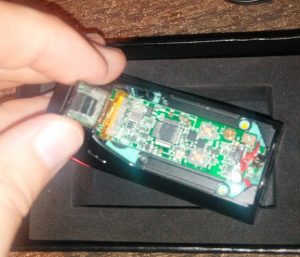
I disassembled and checked connections. The ribbon cable seemed loose.

RX

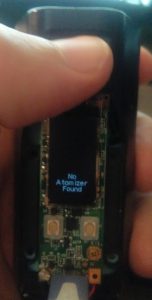
Used a heat gun to reflow the ribbon solderings. Got info on the display but it was very dim. The issue still persisted but the ribbon cable definitely needed this because it was separating from the solder.
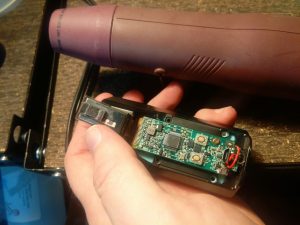
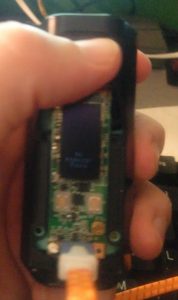
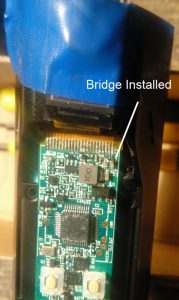
After poking around at the surface mounted resistors near the ribbon traces I found that bridging two of the resistors the screen came to life. My untested assumption is that one of the resistors went bad and bridging them brought the screen back to life.
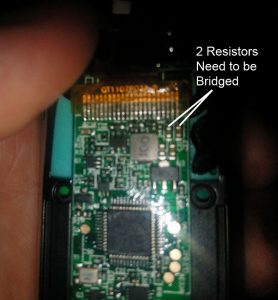
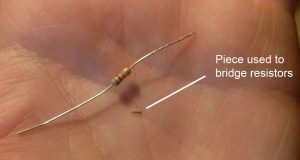
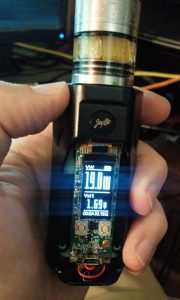
Reassembled and tested again. The resistance of the coil reads the same on 2 devices and the wattage to run the coil is equal between the 2 devices. Good to go.

Try this at you’re own risk and understand I’m not responsible for anything that goes wrong.

Wismec Reuleaux rX2/3 Check Battery Fix

If you want help fixing your device or want me to do it please contact me.

With no drops, no overheating, 2 batteries in use and a lower power user the Wismec rX2/3 started throwing a Check Battery error. I did not have the proper hex bit to do the existing standard fixes so I came up with a new fix.

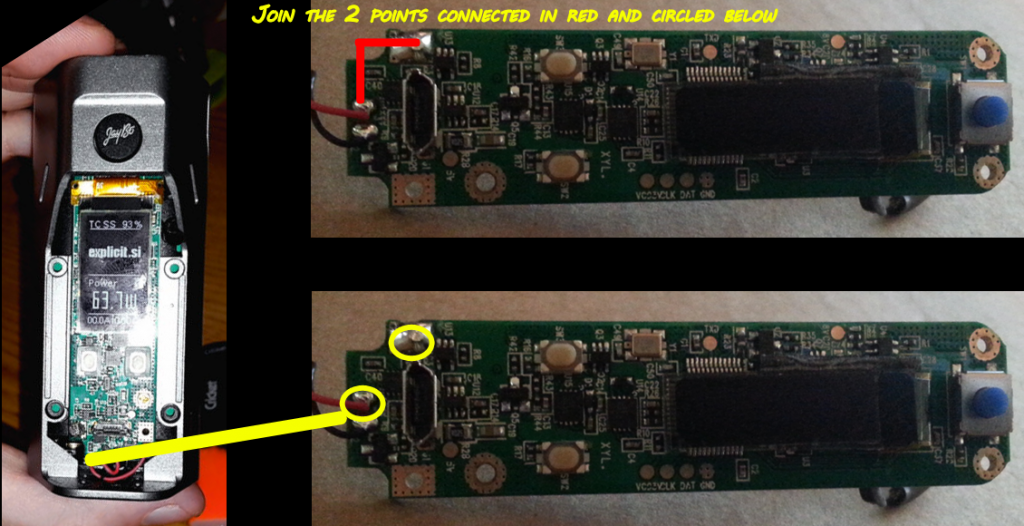
To test if this is the fix for you connect a piece of wire to the 2 points below with batteries in and attempt to fire the device. If the Check Battery error does not appear then this fix should work for you.

The new fix bypasses the cover connections. With that said the note that this fix has not been checked against using 3 batteries so use at your own risk. I apologize for not taking pictures during the repair so I have illustrated over pictures posted on the net by others. Credit for original images at end of post.

Solder a wire between the 2 points circled in yellow and shown connected in red. Beauty of this fix is that you can test without the back cover. Once the new wire was is in place I reassembled with everything working.

If you use this fix contact me and let me know how it turned out.

Reuleaux RX2/3 Fix
Reuleaux RX2/3 Check Battery Fix

Try this at you’re own risk and understand I’m not responsible for anything that goes wrong.
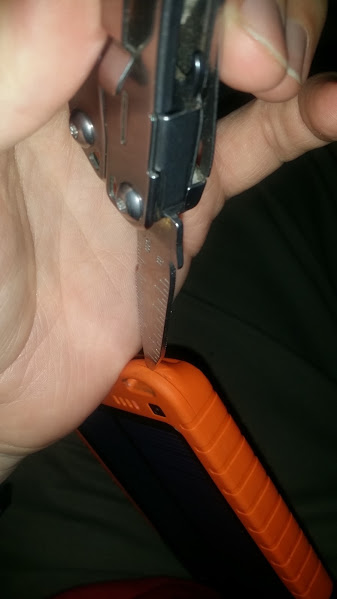
Image adapted from

How I fixed my Poweradd Solar Panel Portable Charger

Poweradd Apollo 7200mAh High Capacity Solar Panel Portable Charger
Solar type: Monocrystalline Solar Panel (highest efficiency rates)
Original Cost: $19.99 on Amazon

The other day I was very bummed to find out that my solar charging battery backup had failed and no longer charged via sun or either USB. I wrote the seller on Amazon from who I purchased the device with no answer. Considering the high failure rate I was seeing while trying to find a fix and the fact that it didn’t cost a whole lot I figured what the heck I’ll try to fix it because what’s the worst that could happen cause it’s already broken.

First problem disassembling

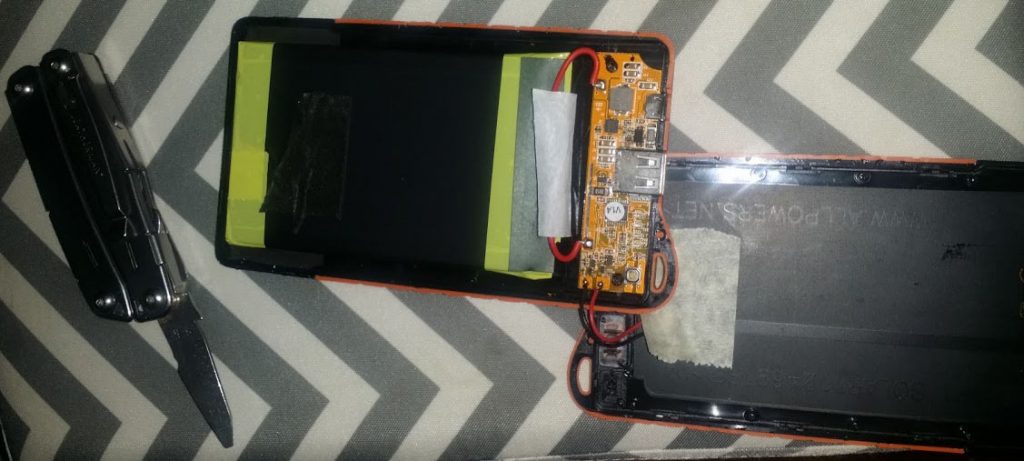
There are no screws so the case just snaps together? Turns out yes but there is an adhesive tab on top of the battery stuck to the back of the solar panel. Pay attention to the wires when taking apart. Loosen the case all the way around with a flat edge blade or screwdriver then pull apart at the bottom end first (opposite of USB ports).

Finding The Problem

What I think happened is that the lithium ion battery protection circuit got activated (lack of better term)? Maybe? So what I did was first check the voltage directly from the battery and got about 3vdc, then on the opposite side of the main protection circuit at about 3vdc. So the battery has a charge which means the battery didn’t fail.

Battery is good and I have voltage so did a component fail?

I decided to start bypassing voltage regulators and charging circuits using alligator clips to see if I could get the battery to turn on. In the end I hooked the voltage entering the circuit directly to the opposite side of this diode or resistor (I forgot to note it and the resolution sucks) then held down the power button. Viola I’ve got power!

My DIY E-Cig Was on HackADay

A while back I posted a DIY Variable Voltage E-Cig how-to on Instructables.com and it eventually got picked up on HackADay.com here. I look at articles that make their way to HackADay as successes so when I found out that mine had made it I got excited and nerded out.

DIY E-Cig

Since then I have taken feedback from readers and updated the schematics to be more efficient and longer lasting. I have plans to one day publish an Arduino based variable voltage and wattage version with display that will fire sub-ohm coils.

Who Lives in a Pineapple?

  • Spongebob Peltier Cooler missing power cord – $6 from Savers (a thrift shop) – Originally sold for $45-$60
  • DC Female Plug – $3.99 from radio shack
  • 12vdc Power Supply – $1.99 from Savers (a thrift shop)
  • Total Cost – 11.98
  • Cost Difference from Original Price: ~$38.02

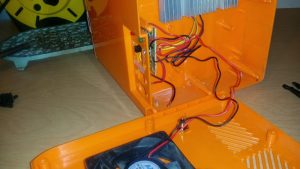
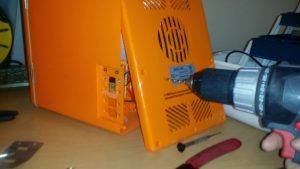
I searched for a while to try and find a power cord with no luck. So I bought and installed a new one from Radio Shack. IT WORKS!!!

Top