RedBeard’s Donnie Darko Mask

Favorite moment of the Donnie Darko mask

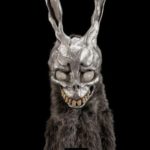
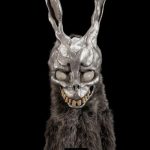
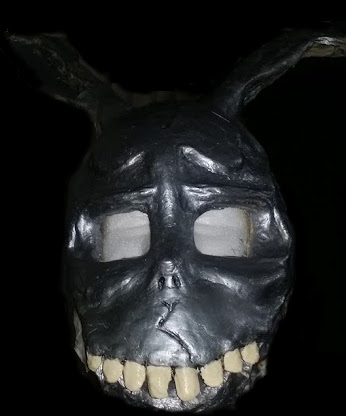
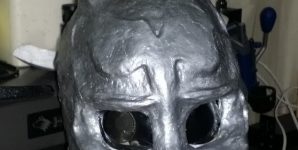
I’ve been wanting to make a Donnie Darko Frank the Bunny mask for some time now and finally got around to doing before this last Halloween. Disclaimer I’m no sculptor and have no experience with this. Definitely not perfect and I’m going to retry for something better later but I’ll share anyways.


This was a ton of fun to do but I think I might take some art classes at the AR Innovation Hub, a local maker space, soon.

Materials

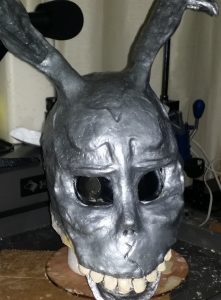
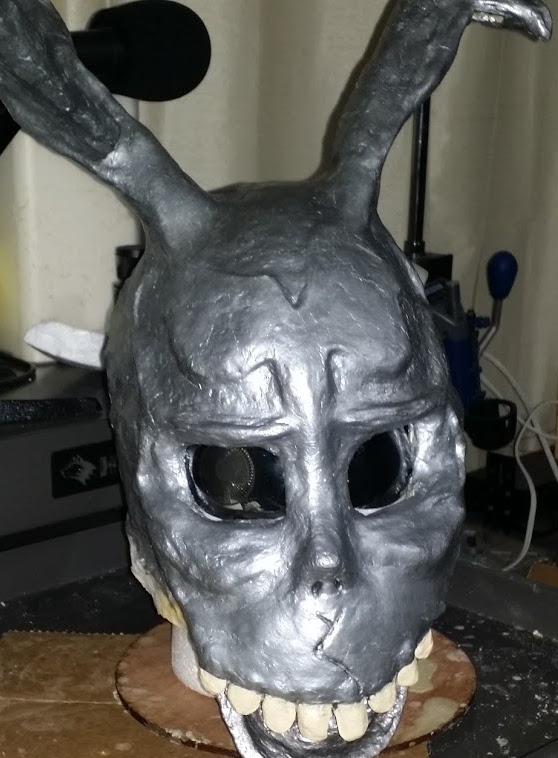
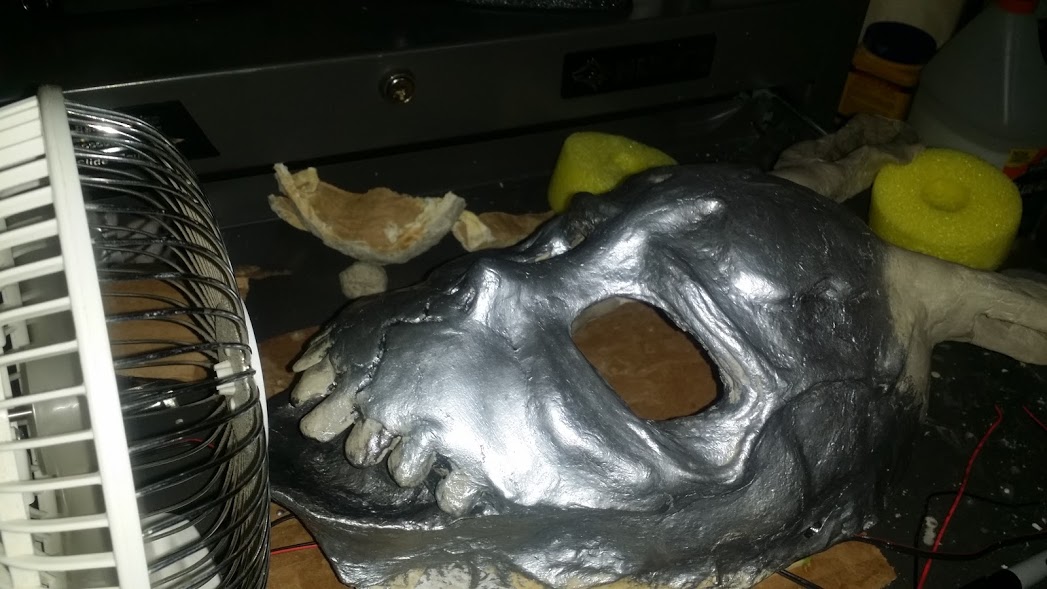
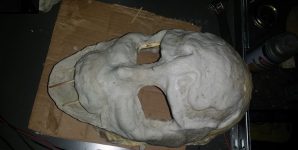
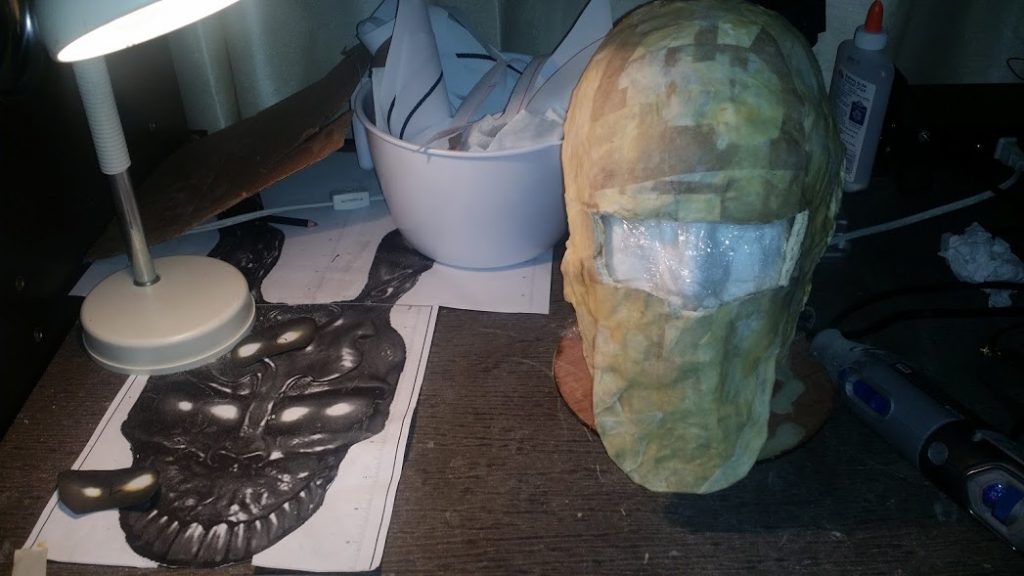
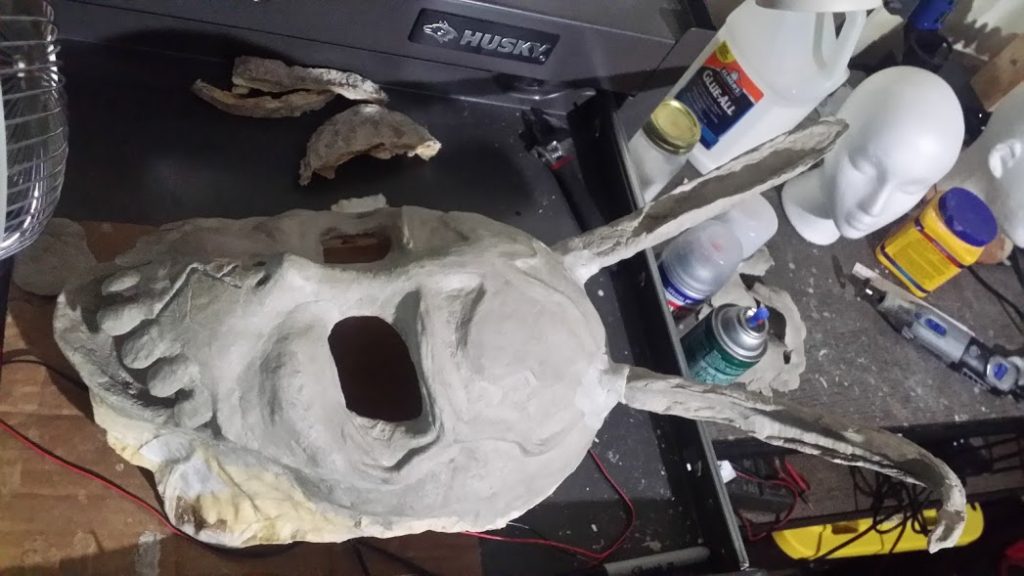
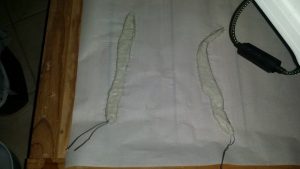
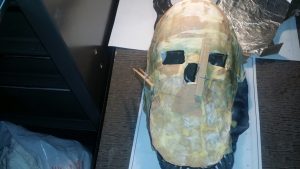
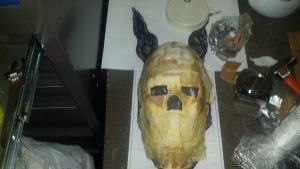
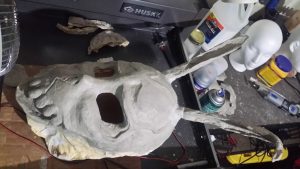
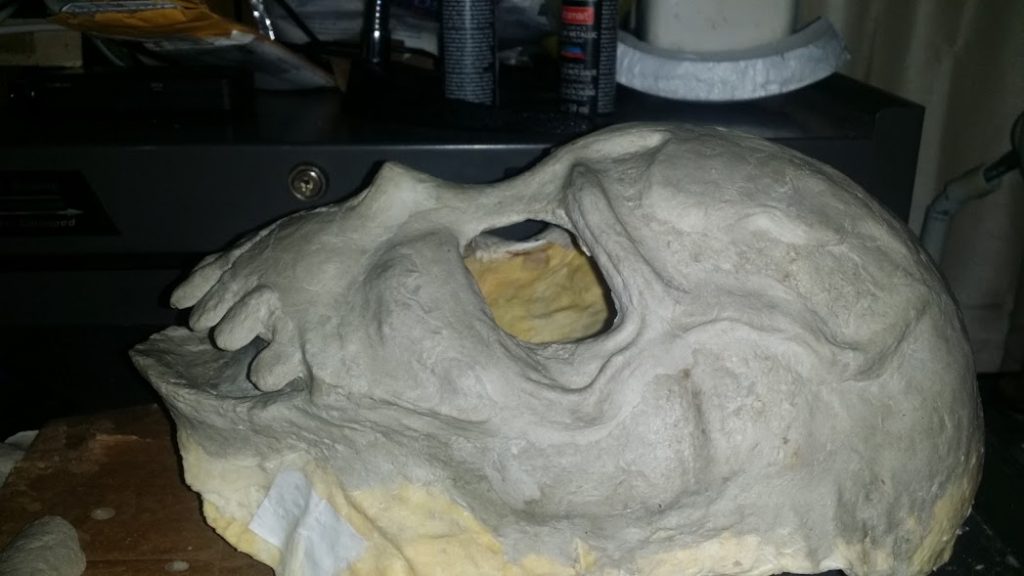
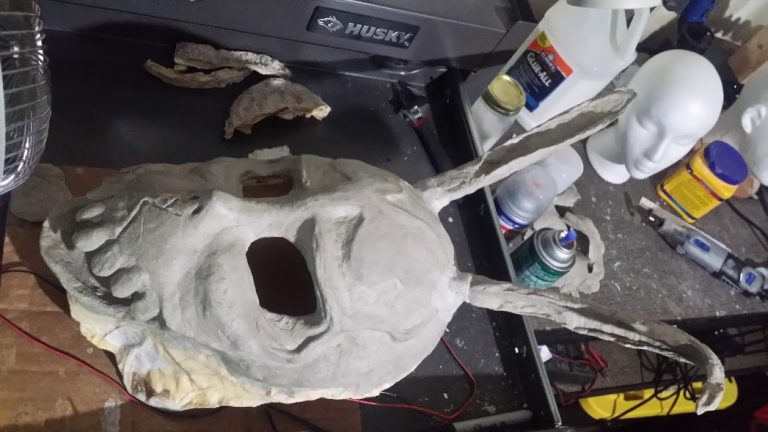
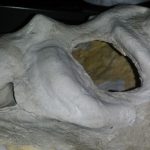
I used a combination of paper mache and paper mache clay to make this mask. Paper mache clay is awesome!! I started with a styrofoam form and a blank plastic mask (that was too small).

Cara Brookins has a write up on paper mache clay. Cara is an author and super mom who I hope to interview after reading a few more of her books. I had the pleasure of meeting Cara a few years ago at River City Comic Con.

Errors

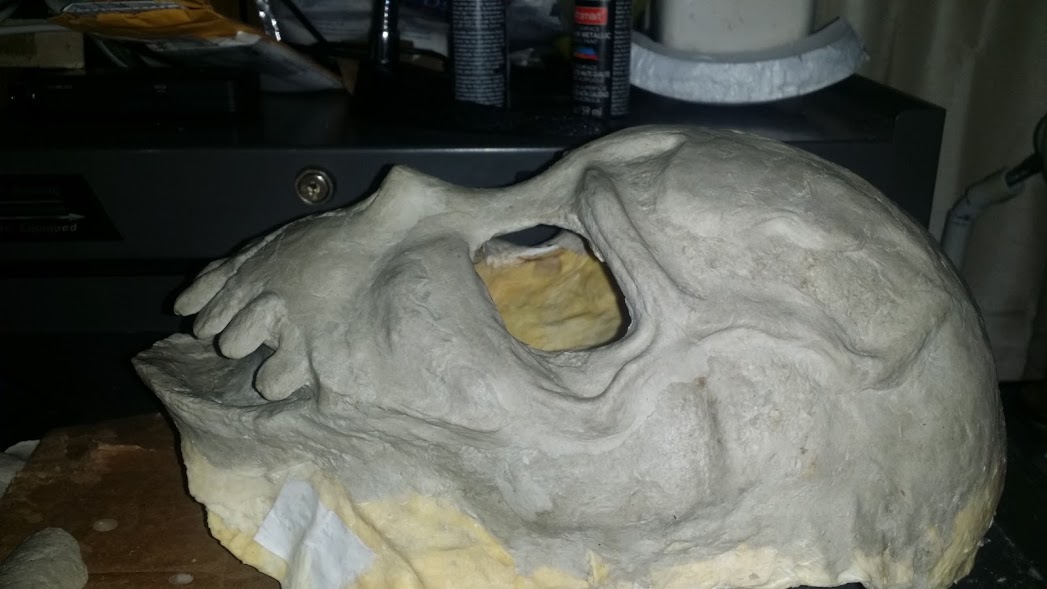
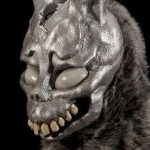
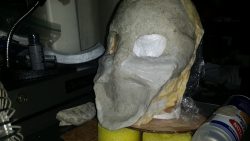
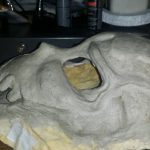
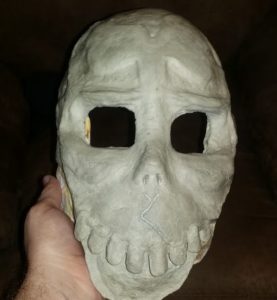
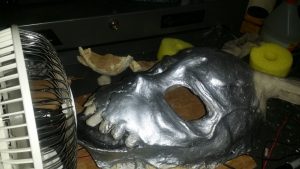
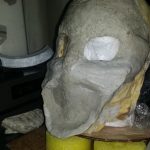
As you browse through the progress you’ll notice I started off with an uneven form and it never got better. I thought I’d fill in the lower jaw area to make the mask fill the outline of the printed mask but then removed it with haste. I also found out late that the paper mache clay needs to be kneaded and worked for a while before it becomes pliable. The mask ended up being a bit small but weighed a ton like hurt your neck ton.

I learned a lot from this project. I’m open to any tips you might have for the paper mache clay and sculpting in general.


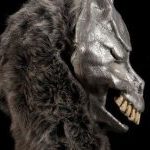
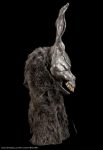
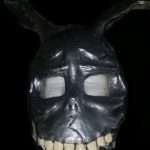
Mask from the movie no comparison


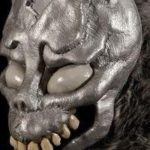
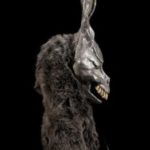
Pictures from the build


R2 Trashcan

This was a fun little Arduino Robotics project that I built with my daughter at the AR Regional Innovation Hub an awesome place I mentioned in the Maker Faire post a while back. Come to think of it I need to post about this year’s Maker Faire. Anyways the robot can be controlled via bluetooth using an Android app.

We have everything mounted to a chassis from another robotics kit much like the Ardokit but only to hold the parts. The motors were aligned with arms of R2 that were printed on the trash bin which turns out are not entirely even with each side. It should not have been a surprise but hey we wanted it to look cool. This posed additional problems with the motor mounts being flat which canted the wheels out. R2 moves a bit awkward. The plastic trash can from Target is a bit brittle so I had to tape the drill marks first and drill with care. A caster was mounted under the front of the R2 to stabilize.

Parts

  • R2 trash can from Target
  • IEIK UNO R3 Board ATmega328P from Amazon – Not an authentic arduino but works great and is cheap.
  • Motor Controller – I think this came from an ebay purchase
  • JBtek HC-05 Wireless Bluetooth from Amazon
  • Battery Pack
  • Motors and wheels from something like the Ardokit from Amazon but I’m not a fan of these because the terminals are real week and broke with very little stress.
  • Caster

I have better parts most from Adafruit coming in soon for a cooler more thought out project. Better wheels, better chassis and better motors.

Trip to a Mini Maker Faire

nlrmmf

So it was pretty awesome for their to be a local Maker anything in Central Arkansas. I can’t wait to see if we get a Maker Space so I can spend countless hours there making gadgets. This Mini Maker Faire was put on by the Arkansas Innovation Hub on Saturday May 2nd which until this event I wasn’t familiar with. I did a terrible job at taking photos and I guess was too busy geeking out. This event had everything from robotics and laser powered projectors to forges and gas powered bicycles.

20150502_134020 20150502_125605

20150502_124959 20150502_125113


‪#‎MakerFaireNLR‬ ‪#‎MakerFaire‬ ‪#‎ARidea‬

Top