DIY Princess Mononoke Costume

Last year my wife and I made this Princess Mononoke Costume for our daughter barely in time for Halloween. I just recently noticed I posted to social media but never posted here.

The mask was made with paper mache and paper clay, coated with plasti dip and then painted by MrsRedBeard. The ears, knife and spear were made with foam matting, coated with plasti dip then painted. The fur was a bath mat that MrsRedBeard found, on Amazon I think, which was way cheaper than buying it from a fabric store. The knife handle was made from a ping pong paddle and the spear handle was made from a paint roller handle.

The dress was found at a discount clothing store for very cheap. MrsRedbeard modified the dress, sculpted the necklace with polymer clay and made the fur into something wearable.

The Mask

The Weapons

The finished costume


DIY DeadMau5 Head on a Budget

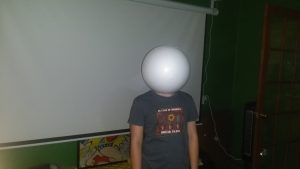
Here’s a brief run down on a DIY DeadMau5 head or helmet that I built with my son for Halloween.

Materials

Estimated Cost $33.48

Tools

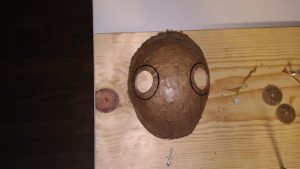
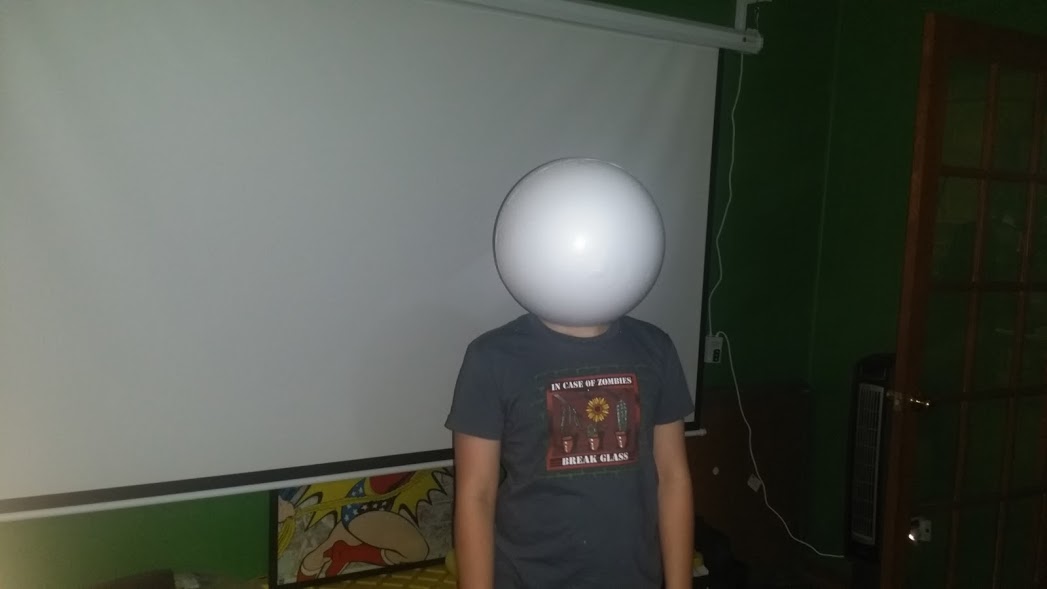
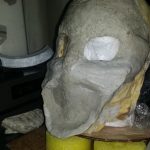
Cut the half circles to give room for the neck. Magnets hold the spheres together. Put the half spheres together and mark evenly spaced marks around on both spheres to recess 2 sets of magnets total into each side. Don’t do like me and try and use E6000 cause it melts styrofoam, use hot glue just don’t let it get real hot.

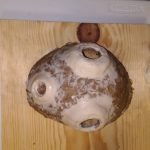
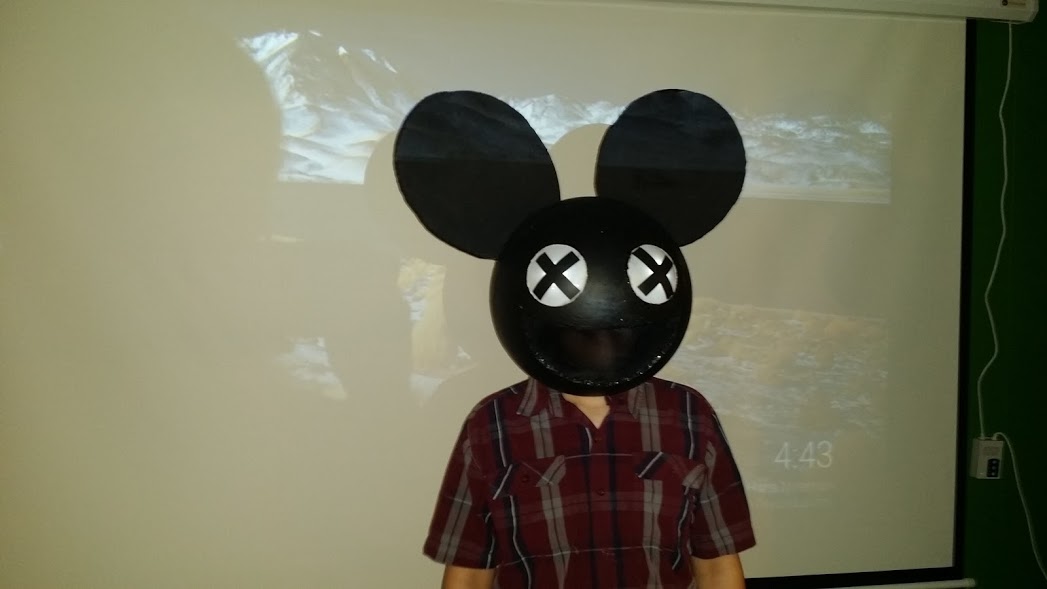
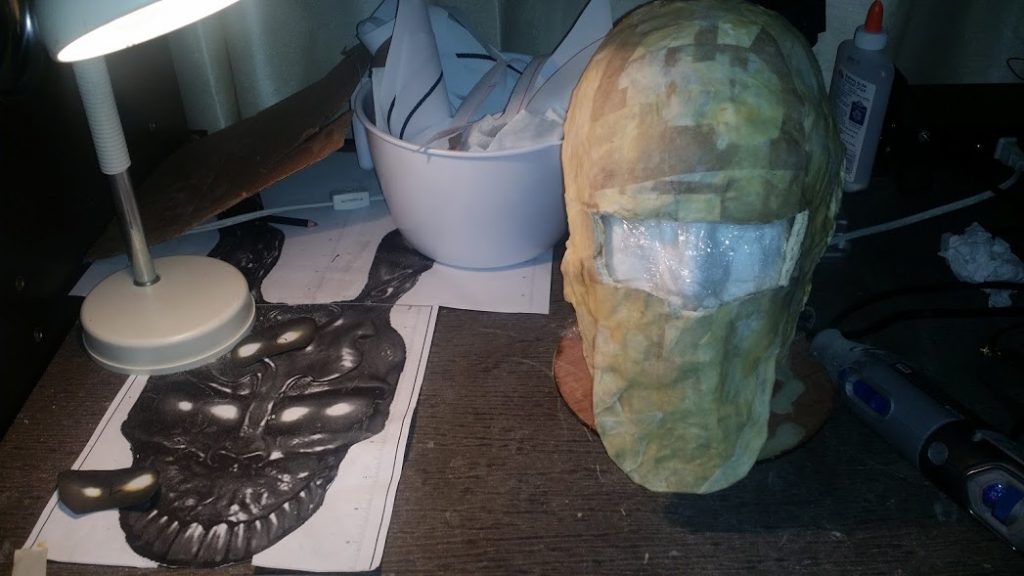
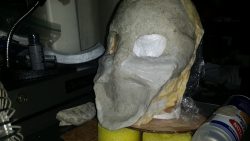
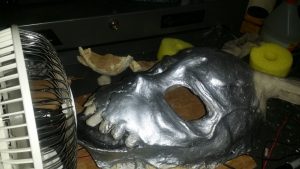
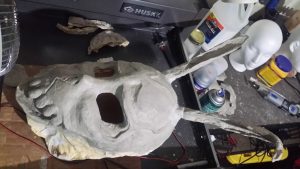
Next for the mouth and ears. Use the paper DeadMau5 Mouth template, cut slits into the paper to get the templates to lay evenly and flat onto the surface of the sphere and tape it. Mark lines lightly with a pencil then cut using the hot knife in a well ventilated area. Be careful because the foam melts easy. Use the paper DeadMau5 Ear template to mark and cut the foam for the ears. Note that you will have to cut a curve into the base of the ears to get it to lay flush.

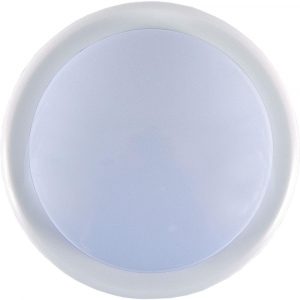
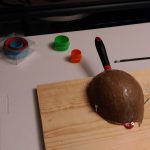
Now for the eyes. Take the 2 Dollar Store Touch Lights apart. You are wanting the dome that acts as a light diffuser. If you get lucky you might be able to use the leds. There will be lip around the outside edge of the dome that will need to be cut off and we used a hot knife for this.

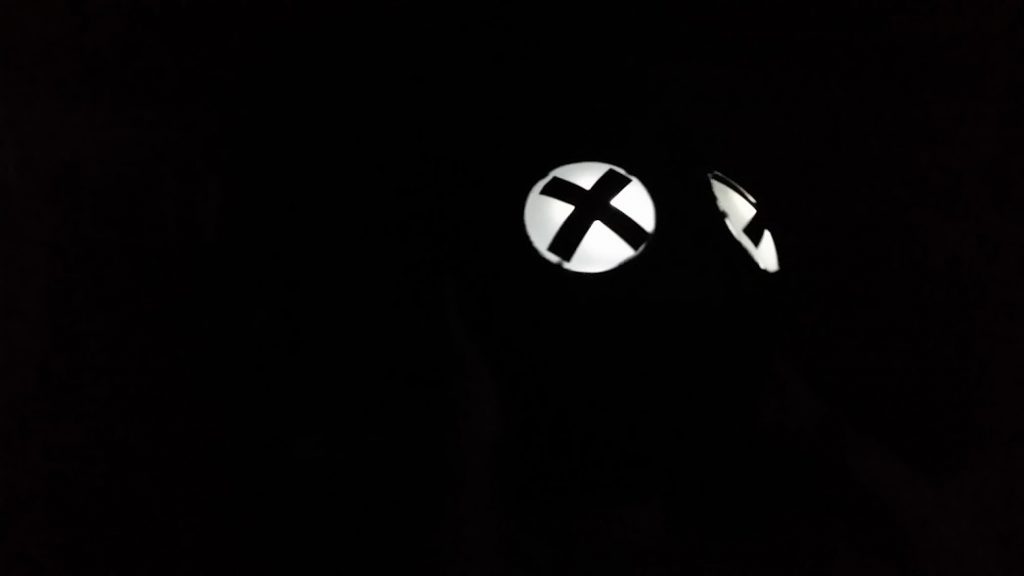
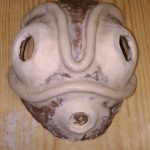
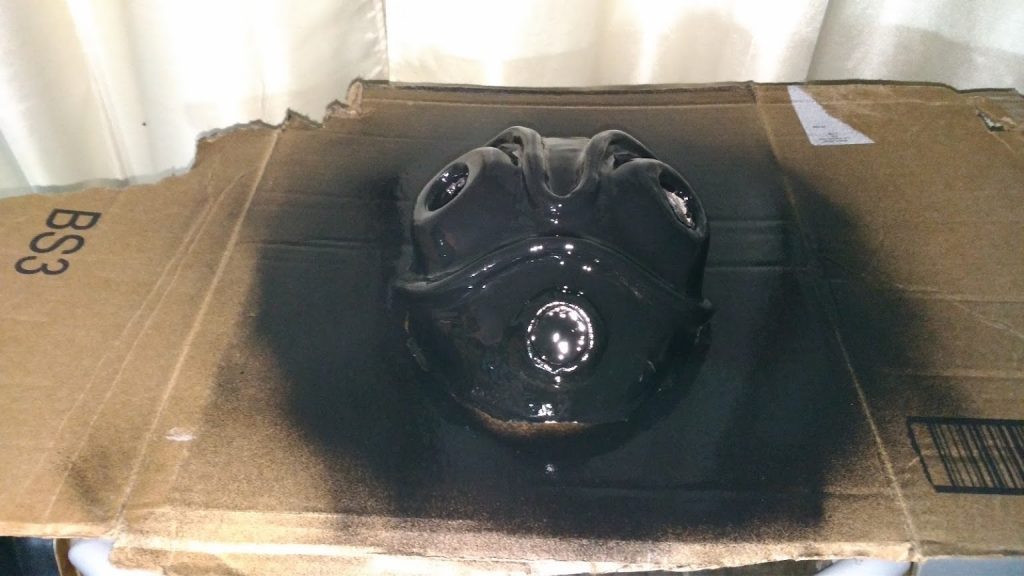
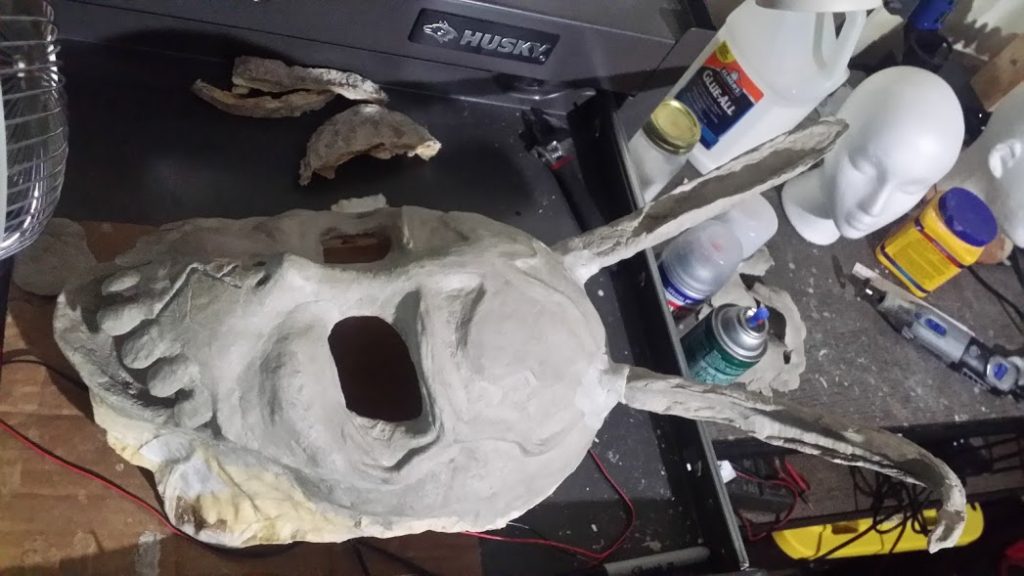
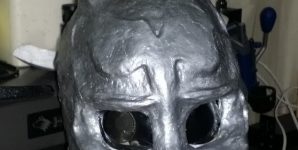
Trace where the ears will be mounted on the sphere then cut/push a recess. Use black hot glue to fix the ears to the sphere. Paint the sphere and ears using acrylic paint. We applied 2 coats to get a good black color applied. Now take the domes you cut out and trace where you want the eyes. Cut/push in the outlines to better recess the domes. In the center of these eye traces you will want to make holes just smaller than the LED you acquired. Hot glue with black glue sticks the eyes. Make Xs on the eyes using electrical tape. Trace the mouth onto the fabric using the DeadMau5 Mouth template tracing slightly larger than the original. Using the black hot glue attach the fabric inside the mouth.

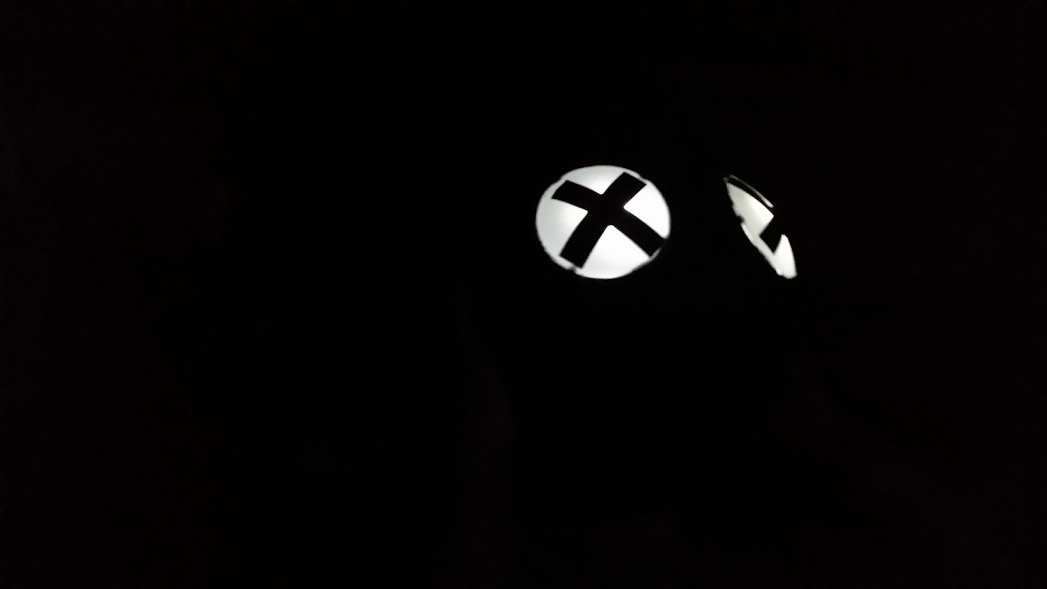
Now it’s time to wire up the LEDs for the eyes. This is pretty simple so I’m not going to post additional info unless asked. Amazon failed to deliver the Red El Wire on time for Halloween but we plan to add that soon. The Red El Wire will outline the ears and mouth.

DIY 100 Watt Bluetooth Speaker

There’s a trend of bluetooth speakers built into suitcases, ammo cans and other unconventional containers. These things sell for $300 or more which is quite a bit more than what it costs to build them. I will break down the parts, sources and their prices. This project was very easy and very affordable.

If you want a custom speaker built just contact us!

Parts

Total cost for one $38.87 (only used one of the speakers)

I found this train case on the side of the road. I stripped out the interior of the case and cleaned it up.


I used a template I found online for the Planet Audio TQ573 5×7 speaker to cut out the hole.

The amp is rated at 50 watts per channel and the speaker is rated at 100 watts. This build only uses one speaker so I bridged the amp to output 100 watts. This amp will run off 12vdc so a portable version would be an easy build.

Speaker mounted and working. It can get pretty loud and sounds great.


RedBeard’s Donnie Darko Mask

Favorite moment of the Donnie Darko mask

I’ve been wanting to make a Donnie Darko Frank the Bunny mask for some time now and finally got around to doing before this last Halloween. Disclaimer I’m no sculptor and have no experience with this. Definitely not perfect and I’m going to retry for something better later but I’ll share anyways.


This was a ton of fun to do but I think I might take some art classes at the AR Innovation Hub, a local maker space, soon.

Materials

I used a combination of paper mache and paper mache clay to make this mask. Paper mache clay is awesome!! I started with a styrofoam form and a blank plastic mask (that was too small).

Cara Brookins has a write up on paper mache clay. Cara is an author and super mom who I hope to interview after reading a few more of her books. I had the pleasure of meeting Cara a few years ago at River City Comic Con.

Errors

As you browse through the progress you’ll notice I started off with an uneven form and it never got better. I thought I’d fill in the lower jaw area to make the mask fill the outline of the printed mask but then removed it with haste. I also found out late that the paper mache clay needs to be kneaded and worked for a while before it becomes pliable. The mask ended up being a bit small but weighed a ton like hurt your neck ton.

I learned a lot from this project. I’m open to any tips you might have for the paper mache clay and sculpting in general.


Mask from the movie no comparison


Pictures from the build


My DIY E-Cig Was on HackADay

A while back I posted a DIY Variable Voltage E-Cig how-to on Instructables.com and it eventually got picked up on HackADay.com here. I look at articles that make their way to HackADay as successes so when I found out that mine had made it I got excited and nerded out.

DIY E-Cig

Since then I have taken feedback from readers and updated the schematics to be more efficient and longer lasting. I have plans to one day publish an Arduino based variable voltage and wattage version with display that will fire sub-ohm coils.

Instructables WordPress Plugin

So a while back I posted a how-to on displaying a user’s Instructables projects on their own site or projects of those that they follow. I have since then created a WordPress plugin to do the work for you.

Download the Instructables Plugin Here

If you’re not familiar with www.Instructables.com and are interested in DIY projects go check it out.

Do you author DIY/How-To’s on Instructables?
Do you like the projects on Instructables?

This plugin allows you to post the latest projects you or other authors have posted or projects by keyword on your own site. See an example below

This is an expansion of an Instructable I wrote a while back that you can find here http://www.instructables.com/id/Display-your-Instructables-on-a-Wordpress-or-PHP-b/

Display a user’s projects:
[instructablesUP username=”MrRedBeard” num=”2″ thumb=”true”]

Display a list of projects by keyword:
[instructablesKW keyword=”tent” num=”3″ thumb=”true”]


The Czech Republic Wants the Candy Meth too!

(This Article contains very minor Breaking Bad Spoilers from Season 4/5)

Over on my YouTube channel I created a quick little video showing how to make cheap, quick, and easy Costume Meth for all my little Heisenburg’s out there.  I was checking out a few of the stats to help optimize my promotion and I decided to see what country is “Liking” my video the most.

BreakingBadCandyMethLikes


As you can see, the Czech Republic is right behind the US in liking my video.  Normally, I wouldn’t think much of this…Except, in Breaking Bad the Czech Republic is a major meth buyer for Walt and I’ve read that meth production is centered there.  It’s probably just a fluke right? Maybe the questionable traffic source in the picture below is a coincidence…

CostumeMethViews


Top