
There’s a trend of bluetooth speakers built into suitcases, ammo cans and other unconventional containers. These things sell for $300 or more which is quite a bit more than what it costs to build them. I will break down the parts, sources and their prices. This project was very easy and very affordable.
If you want a custom speaker built just contact us!
Parts
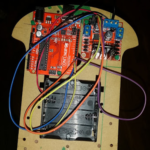
- TDA7492P 2 x 50 Watt Dual Channel Amplifier with bluetooth $12.98
- 12V 6A Power Supply 2.1mm $12.99
- 100 Watt Planet Audio TQ573 5×7 3 way speakers $25.80
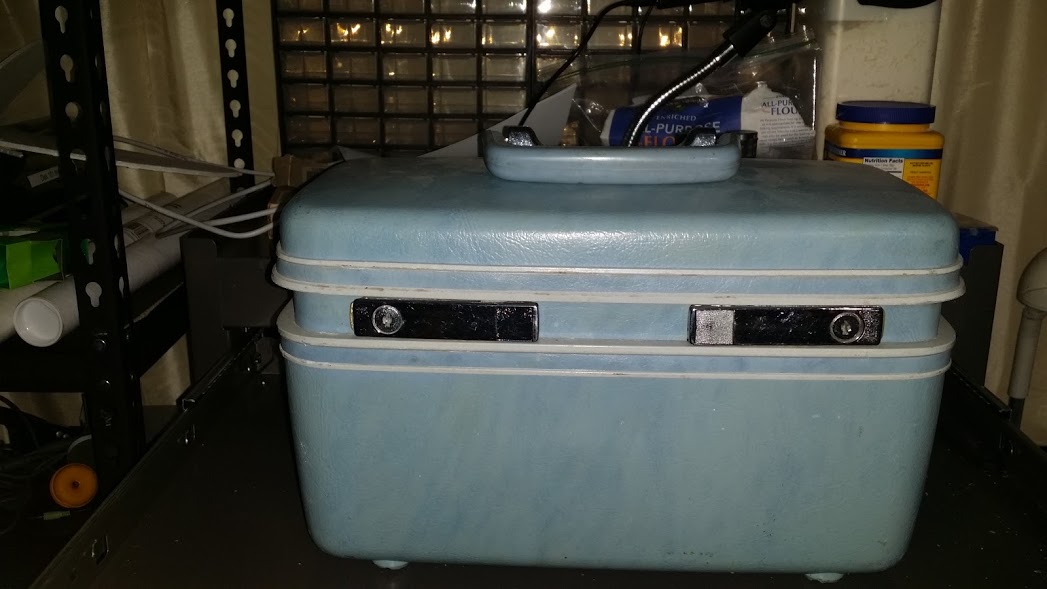
- Donor Train Case found on side of road $0.00
Total cost for one $38.87 (only used one of the speakers)
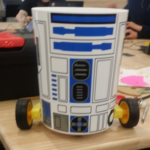
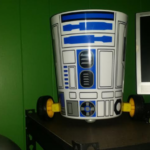
I found this train case on the side of the road. I stripped out the interior of the case and cleaned it up.
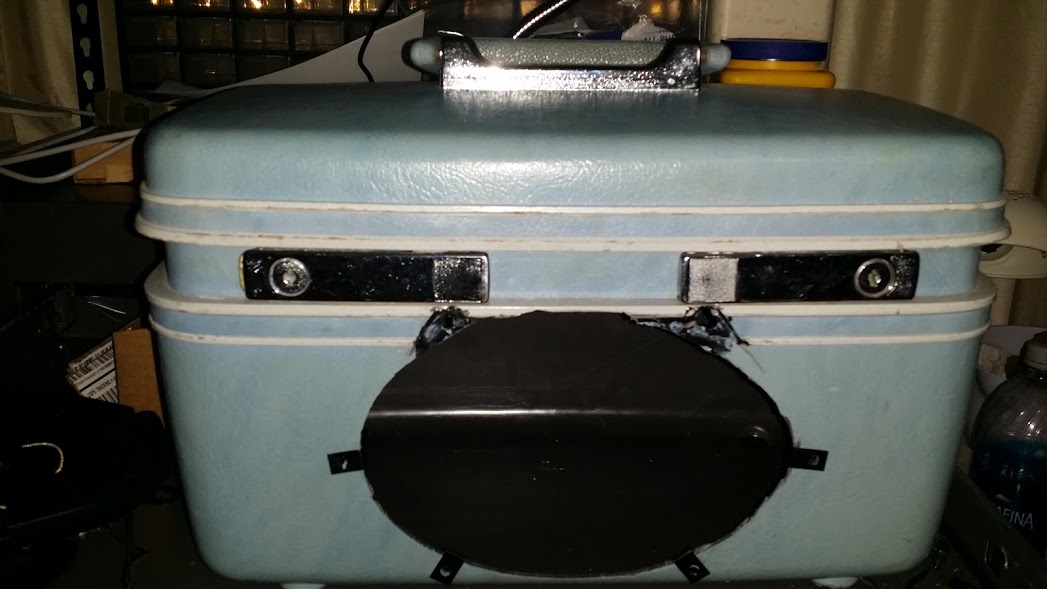
I used a template I found online for the Planet Audio TQ573 5×7 speaker to cut out the hole.
The amp is rated at 50 watts per channel and the speaker is rated at 100 watts. This build only uses one speaker so I bridged the amp to output 100 watts. This amp will run off 12vdc so a portable version would be an easy build.
Speaker mounted and working. It can get pretty loud and sounds great.
You must be logged in to post a comment.