SainSmart L293D Fail!!

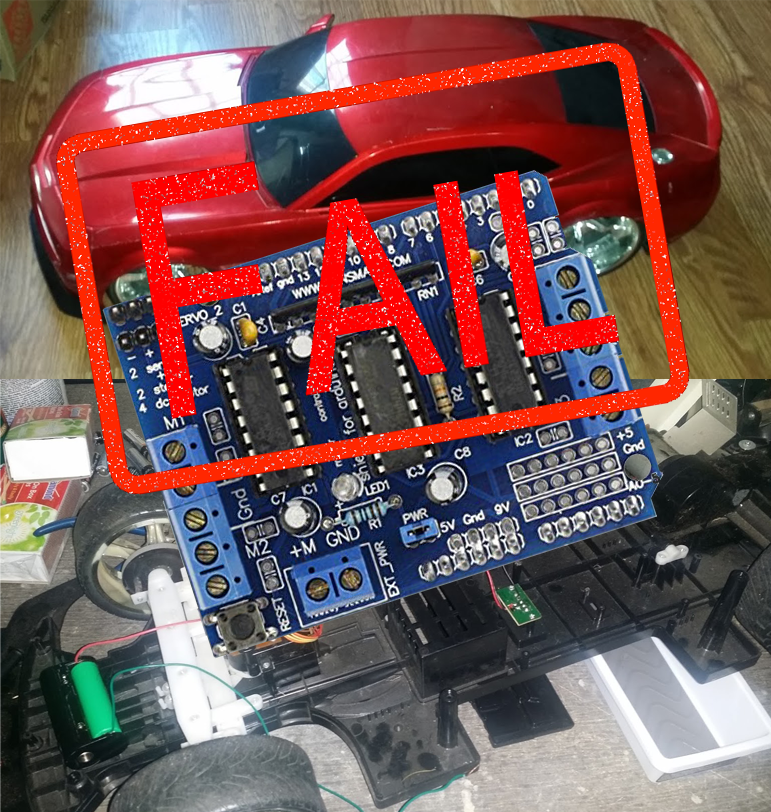
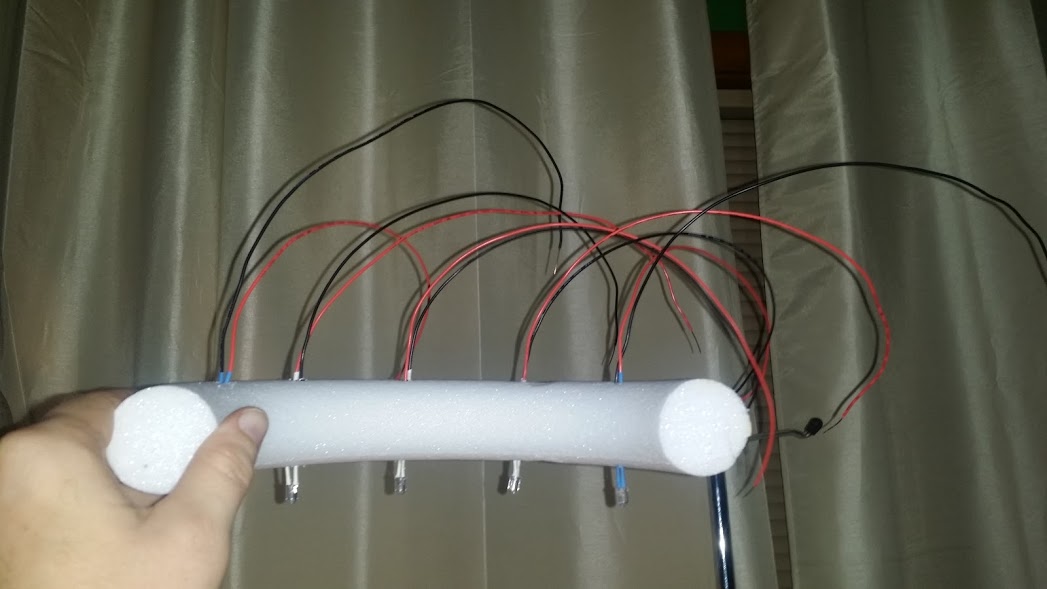
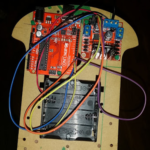
This is a project in the works but what the hey here’s sort of a preview. The plan is to use 2x 400MHz transceivers via 2x arduinos to control the motors on this RC car. I’ve already taken the original controller board out of the car and made room for the new components.

So I was sitting here setting up a SainSmart L293D Motor Driver using specs and guidance from Adafruit and either I missed something or the information is wrong. At 3.5vdc it works but could be pushed so I grabbed an 18vdc drill battery thinking it would be fine because the circuit as quoted from Adafruit below states that it is rated to 25vdc.

25vdc my foot cause as soon as I set it up smoke popped and I smell burning on both the arduino and motor controller. It still seems to work but surely problems will rear their head.

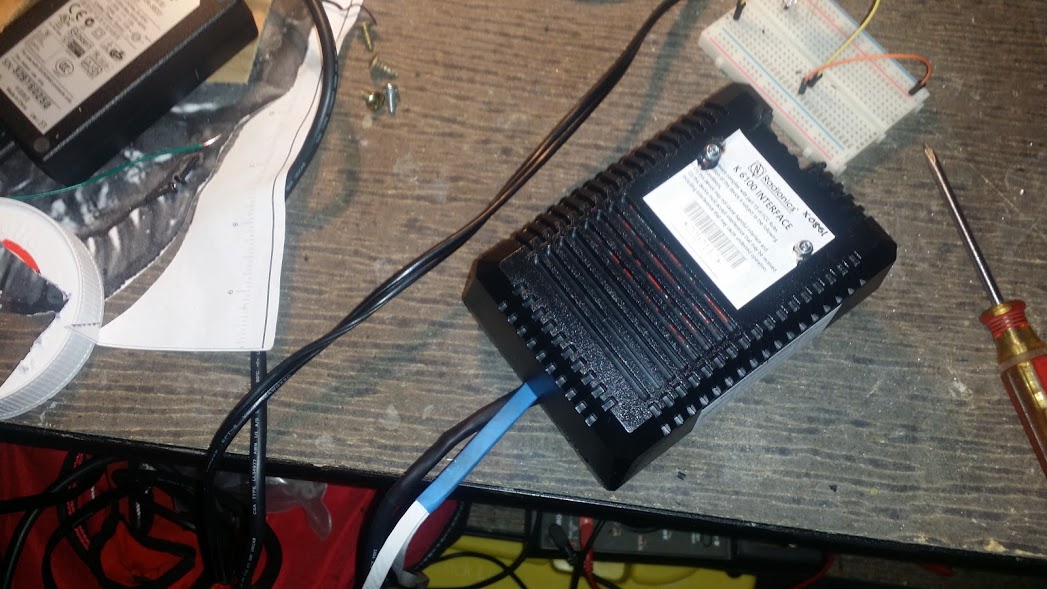
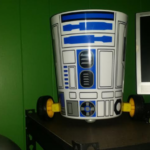
Just ordered better motor controllers (same as the one used in my R2D2) and 18650 battery holders. Wouldn’t be so bad but I think the arduino board is fried.

Just so anyone else is aware this is the link I purchased my L293D from on Amazon. I already complained but I’m not the first to do so.

4 H-Bridges: L293D chipset provides 0.6A per bridge (1.2A peak) with thermal shutdown protection, 4.5V to 25V

https://learn.adafruit.com/adafruit-motor-shield/overview

Arduino and UV Lights for Glow in the Dark Decorations

My wife, MrsRedBeard, made some glow in the dark heads for Halloween decorations. They glowed but very dim and not for very long so why not kick it it up with UV lights. But why stop there when there’s an Arduino laying around?

Using the Arduino I made it so that the lights fade in to brightness, blink, hold for a few seconds then turn off for a while and loop.  The code for this can be found on GitHub.

I’m not getting real in-depth on how to do this because most of it is really basic. If you want additional information just Contact us.

Parts / Materials

  • Arduino
  • UV LEDs from Adafruit
  • An old CAT 5 cable
  • 2 screw terminals
  • 2x 2N3904 Transistors
  • Wire
  • A salvaged project box
  • Styrofoam ring cut in half
  • A empty circuit board

Pictures of the project

R2 Trashcan

This was a fun little Arduino Robotics project that I built with my daughter at the AR Regional Innovation Hub an awesome place I mentioned in the Maker Faire post a while back. Come to think of it I need to post about this year’s Maker Faire. Anyways the robot can be controlled via bluetooth using an Android app.

We have everything mounted to a chassis from another robotics kit much like the Ardokit but only to hold the parts. The motors were aligned with arms of R2 that were printed on the trash bin which turns out are not entirely even with each side. It should not have been a surprise but hey we wanted it to look cool. This posed additional problems with the motor mounts being flat which canted the wheels out. R2 moves a bit awkward. The plastic trash can from Target is a bit brittle so I had to tape the drill marks first and drill with care. A caster was mounted under the front of the R2 to stabilize.

Parts

  • R2 trash can from Target
  • IEIK UNO R3 Board ATmega328P from Amazon – Not an authentic arduino but works great and is cheap.
  • Motor Controller – I think this came from an ebay purchase
  • JBtek HC-05 Wireless Bluetooth from Amazon
  • Battery Pack
  • Motors and wheels from something like the Ardokit from Amazon but I’m not a fan of these because the terminals are real week and broke with very little stress.
  • Caster

I have better parts most from Adafruit coming in soon for a cooler more thought out project. Better wheels, better chassis and better motors.

Top