
There’s a lot of in-depth overview random basic RF information. With that said I don’t mind getting into the details because this information will help keep me safe while I perform experiments in the future.

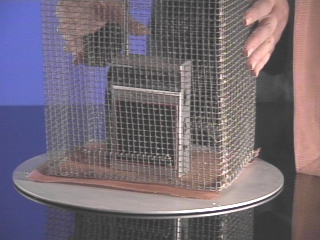
A magnetron generates large amounts of RF energy and emits that energy as an antenna pumped through a wave guide. Most microwaves transmit/operate at 2.45GHz. Unless something is wrong with your microwave or you have taken it apart like I will be doing the RF energy, 2.45GHz, transmission is contained within your microwave using a Faraday cage. On your right is an example of a crude Faraday cage. While crude this mesh size would probably be safe to use for 2.4GHz.
A microwave oven works by pumping a lot of RF energy into an enclosure where it bombards the molecules of food or whatever you have put in your microwave. This RF energy is not in a straight line but is guided through a wave guide then and then bounced off the metal walls of the inside of the microwave. The RF energy then vibrates the molecules which creates heat. This is like when you rub your hands together (friction) and they get warm but on a molecular level. What I don’t want is my molecules to get vibrated.
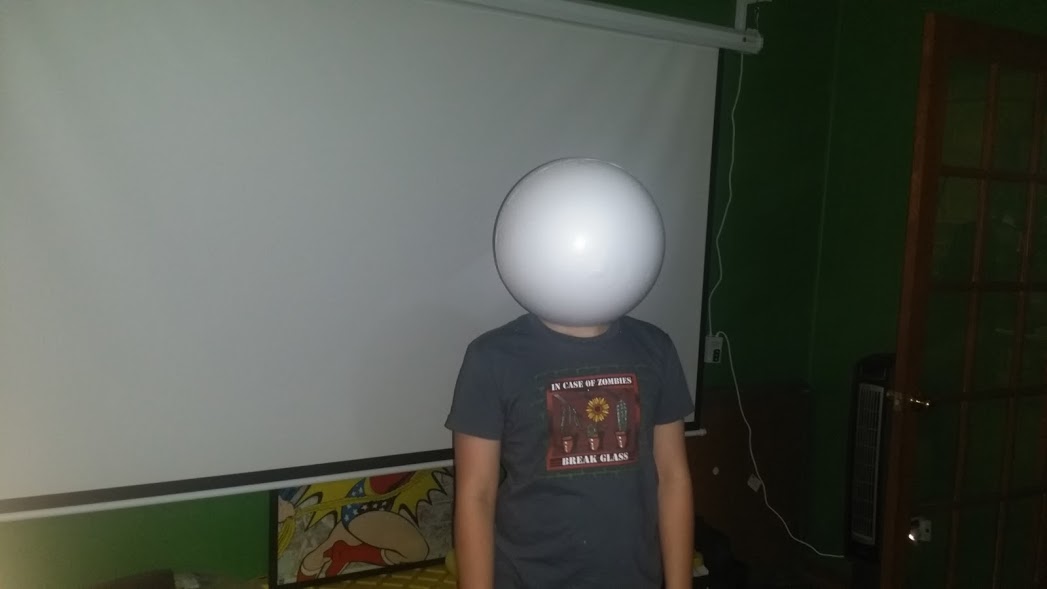
The Faraday cage is made up of the mesh in the window as well as the metal case which share a chassis ground. The mesh in the window blocks the the RF because the mesh size is smaller than the wavelength of 2.45GHz/2450MHz/2450000000Hz. If the mesh size is lower than the nominal wavelength the mesh should be effective. Look at the list below to see what the wavelengths in size is. For this project I plan on using the RF blocking glass that I obtained samples of from Viracon which is way different than a Faraday cage but same principle. You can see the article I linked to but I also included an image here.
- Full Wavelength = 12.23643cm/122.3643mm = 0.1223643m
- Half Wavelength = 6.118215cm/61.18215mm
- Quarter Wavelength = 3.0591cm/30.591075mm
You can calculate the wavelength using the formula ? = c/? or 0.1223640816326531 = 299792000/2450000000
? = frequency in hz, c = speed of light in mps 299792000, ? = Wavelength in meters
N5JLC is my math right?
So basically if my mesh is smaller than 30mm, if I’m right, I should be protected. I plan to use the glass but if needed I will use hardware cloth.
RF Meters
In order to protect myself and nearby electronics I want to monitor external and internal RF to ensure there is not leakage. RF Meters in general are not that difficult to build but ones that cover the 2.4GHz range require a bit more than a germanium diode and multimeter. In short you’ll probably see a 2.4GHz RF Meter project coming soon. Below are some RF Meter projects but if you know of any please let me know.
- http://www.riyas.org/2014/06/a-simple-24ghz-spectrum-analyser-arduino-lcd-shield.html
- http://forum.arduino.cc/index.php/topic,54795.msg392325.html#msg392325
- http://interface.khm.de/index.php/lab/interfaces-advanced/radio-signal-strength-sensor/
- http://www.w1ghz.org/small_proj/Power_detector_board.pdf
- http://www.qsl.net/n9zia/wireless/pics/fs_meter.png
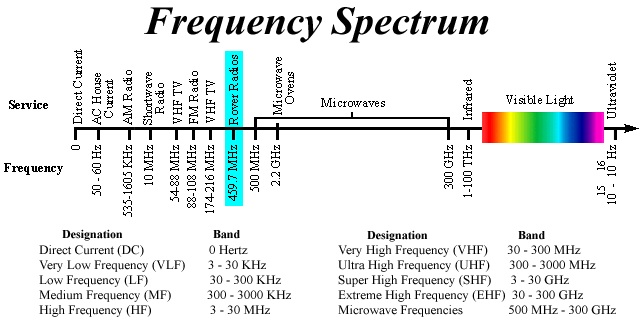
Frequency Spectrum Chart
Symbols and Values
- ? = frequency in hz
- c = speed of light in meters per second (mps) 299792000
- ? = Wavelength in meters
Microwave Plasma Chamber – Part 1 – The Plan


You must be logged in to post a comment.