DIY Geiger Counter – Planning

I’ve always wanted to have and build a Geiger Counter. This doesn’t mean I want to start experimenting with radioactive materials, I just have a general interest. At most I might collect items from thrift stores that measure higher than normal amounts of radiation. At most I wouldn’t mind sputtering the radioactive metal onto glass slides.

Found some tutorials but the most appealing to me was one built by tanner_tech featured on HackADay.com recently that utilized a 555 timer and a step up transformer to get the 400V. 400V across the tube allows gamma rays or beta particles to start the ionization completing the circuit.

After settling on a design I purchased 3 Russian Geiger tubes CI-3BG / SI-3BG from ebay link here. They sent me 4…. Win!

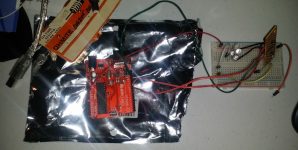
I want to take this one step further and have the data output to a screen and log that data rather than just make noise. So the end result will be an Arduino or Raspberry Pi to control the Geiger Counter. I just need to learn the best way to take the 400v pulses and turn that into something a microcontroller can safely read. If you know the best way to do this please contact me.

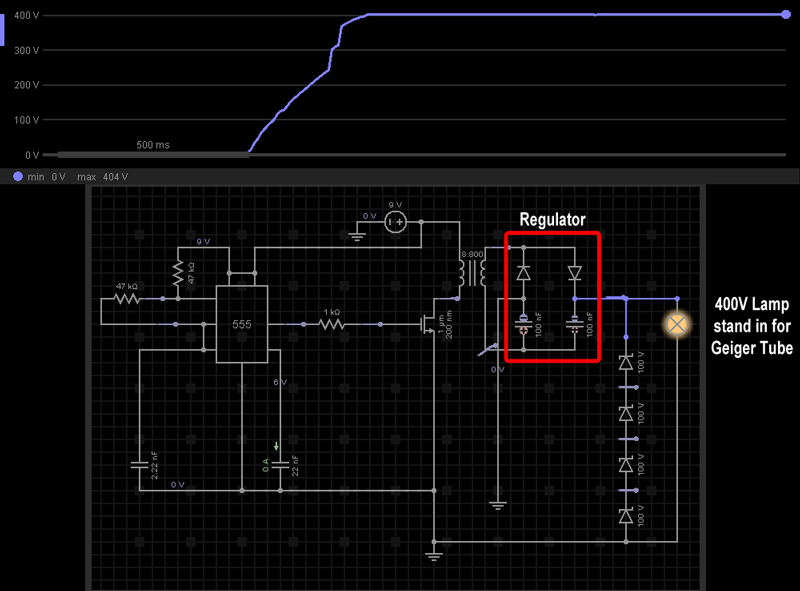
After a few corrections to the circuit to level the voltage to a consistent 400V I believe I’m ready to begin building the initial geiger counter. That is after I get a few other projects out of the way. Being able to simulate the circuit, as shown below, was a huge help.

Parts List

  • 1x 555 timer
  • 2x 47k resistors
  • 1x 22nF capacitor
  • 1x 2.2nF capacitor
  • 1x 1k resistor
  • 1x 8:800 ohm transformer
  • 1x Any N-channel MOSFET
  • 2x 1n4007 diode (on regulator)
  • 2x 100nF 500 volt capacitor (on regulator)
  • 4x 100 volt zener diode
  • 1x Geiger tube (in simulation I’m using a lamp)

If built from scratch, buying parts in small quantities each unit is estimated to cost around $12-$15 so not bad at all.

Recreation of the circuit with simulation on EveryCircuit

Friggin loving Every Circuit! Visually seeing the results and being able to tweak values during live simulation is beautiful.

Links to original design

Tanner_tech’s Instructables

[instructablesUP username=”tanner_tech” num=”6″ thumb=”true” tileview=”true”]

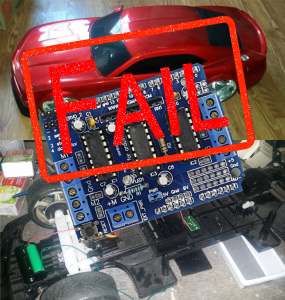
SainSmart L293D Fail!!

This is a project in the works but what the hey here’s sort of a preview. The plan is to use 2x 400MHz transceivers via 2x arduinos to control the motors on this RC car. I’ve already taken the original controller board out of the car and made room for the new components.

So I was sitting here setting up a SainSmart L293D Motor Driver using specs and guidance from Adafruit and either I missed something or the information is wrong. At 3.5vdc it works but could be pushed so I grabbed an 18vdc drill battery thinking it would be fine because the circuit as quoted from Adafruit below states that it is rated to 25vdc.

25vdc my foot cause as soon as I set it up smoke popped and I smell burning on both the arduino and motor controller. It still seems to work but surely problems will rear their head.

Just ordered better motor controllers (same as the one used in my R2D2) and 18650 battery holders. Wouldn’t be so bad but I think the arduino board is fried.

Just so anyone else is aware this is the link I purchased my L293D from on Amazon. I already complained but I’m not the first to do so.

4 H-Bridges: L293D chipset provides 0.6A per bridge (1.2A peak) with thermal shutdown protection, 4.5V to 25V

https://learn.adafruit.com/adafruit-motor-shield/overview

Arduino and UV Lights for Glow in the Dark Decorations

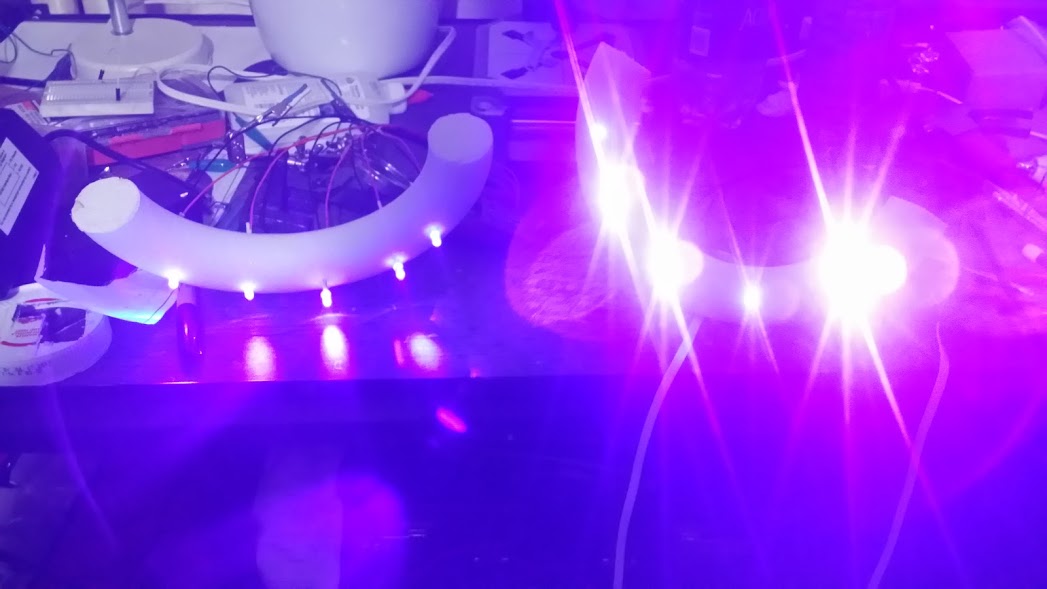
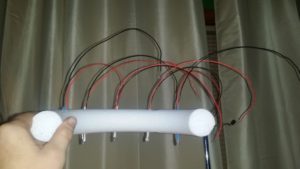
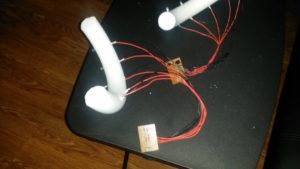
My wife, MrsRedBeard, made some glow in the dark heads for Halloween decorations. They glowed but very dim and not for very long so why not kick it it up with UV lights. But why stop there when there’s an Arduino laying around?

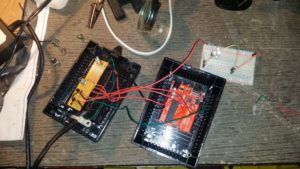
Using the Arduino I made it so that the lights fade in to brightness, blink, hold for a few seconds then turn off for a while and loop.  The code for this can be found on GitHub.

I’m not getting real in-depth on how to do this because most of it is really basic. If you want additional information just Contact us.

Parts / Materials

  • Arduino
  • UV LEDs from Adafruit
  • An old CAT 5 cable
  • 2 screw terminals
  • 2x 2N3904 Transistors
  • Wire
  • A salvaged project box
  • Styrofoam ring cut in half
  • A empty circuit board

Pictures of the project

How I fixed my Poweradd Solar Panel Portable Charger

Poweradd Apollo 7200mAh High Capacity Solar Panel Portable Charger
Solar type: Monocrystalline Solar Panel (highest efficiency rates)
Original Cost: $19.99 on Amazon

The other day I was very bummed to find out that my solar charging battery backup had failed and no longer charged via sun or either USB. I wrote the seller on Amazon from who I purchased the device with no answer. Considering the high failure rate I was seeing while trying to find a fix and the fact that it didn’t cost a whole lot I figured what the heck I’ll try to fix it because what’s the worst that could happen cause it’s already broken.

First problem disassembling

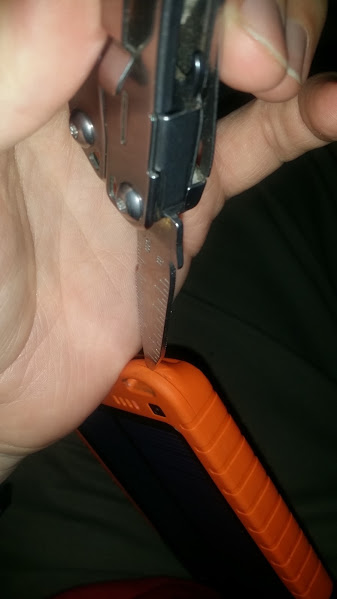
There are no screws so the case just snaps together? Turns out yes but there is an adhesive tab on top of the battery stuck to the back of the solar panel. Pay attention to the wires when taking apart. Loosen the case all the way around with a flat edge blade or screwdriver then pull apart at the bottom end first (opposite of USB ports).

Finding The Problem

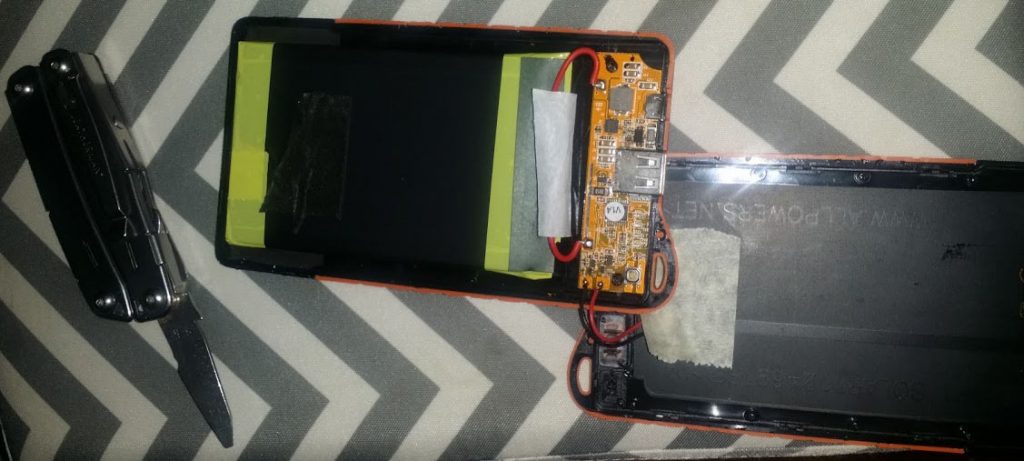
What I think happened is that the lithium ion battery protection circuit got activated (lack of better term)? Maybe? So what I did was first check the voltage directly from the battery and got about 3vdc, then on the opposite side of the main protection circuit at about 3vdc. So the battery has a charge which means the battery didn’t fail.

Battery is good and I have voltage so did a component fail?

I decided to start bypassing voltage regulators and charging circuits using alligator clips to see if I could get the battery to turn on. In the end I hooked the voltage entering the circuit directly to the opposite side of this diode or resistor (I forgot to note it and the resolution sucks) then held down the power button. Viola I’ve got power!

Top